| To Create infopath form we need to open infopath designer 2013 and need to choose Blank form from below screen
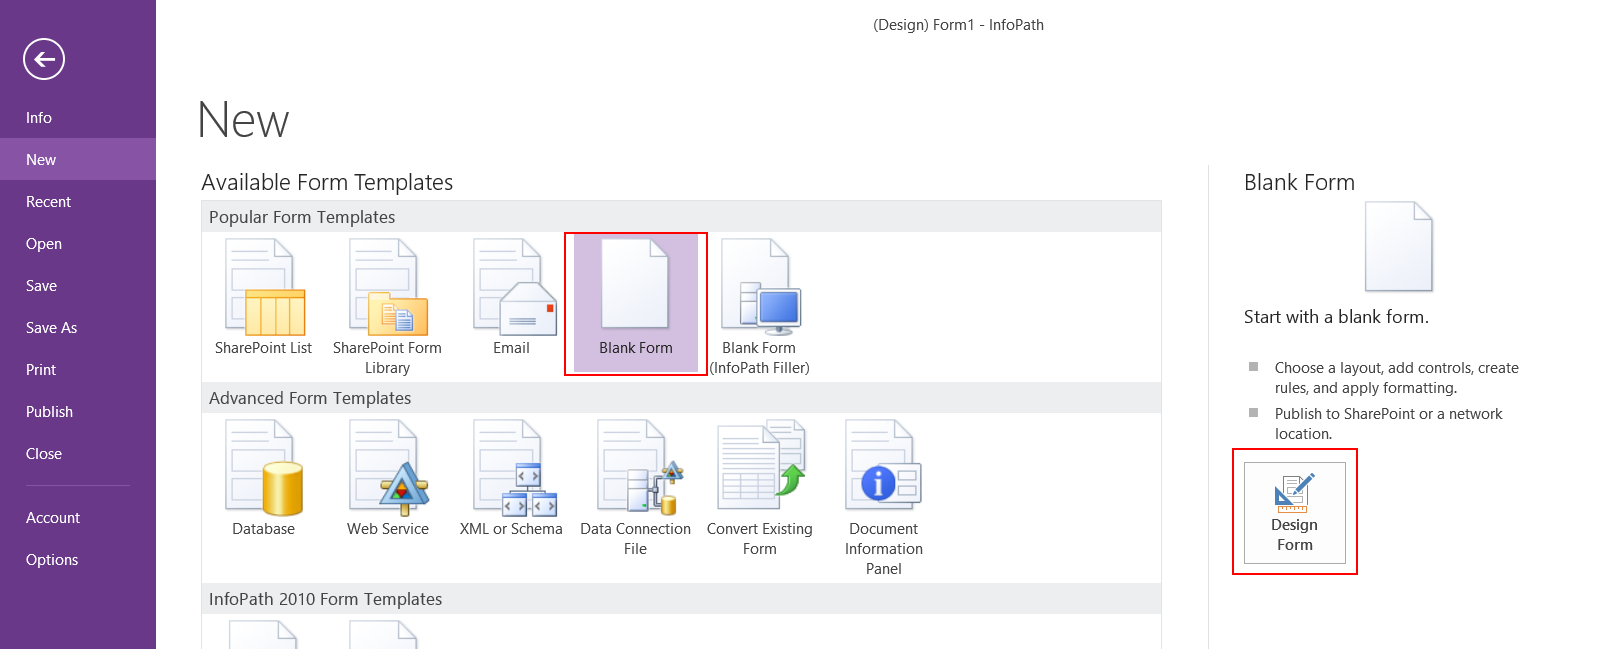
Now below design form will appear as shown in below screen

Now go to Insert tab to go to desgin form

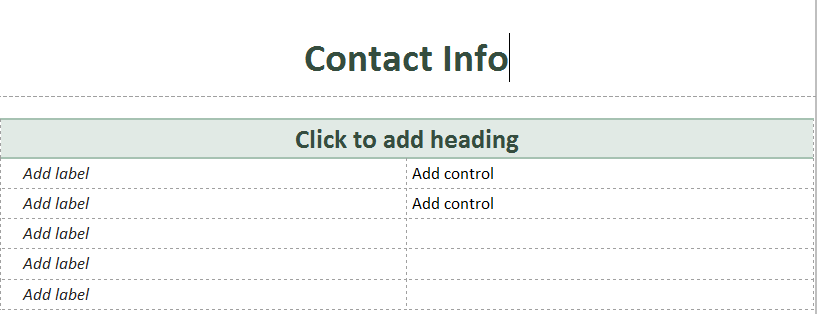
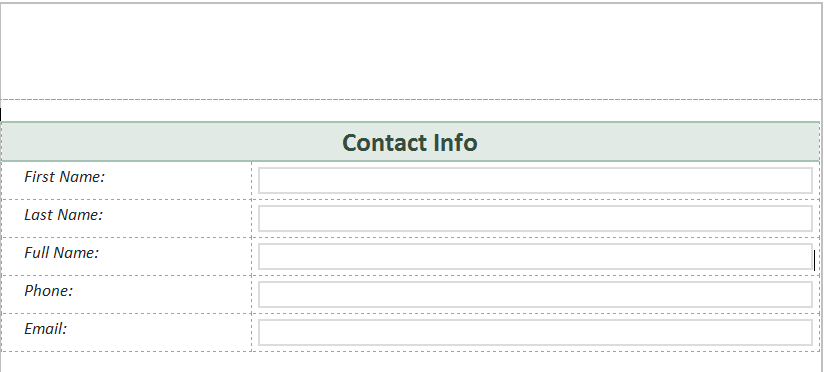
Now we can add heading text and type Contact Info by right click on the form, select Insert, and then Rows Below (repeat this 2 times to add 2 rows).
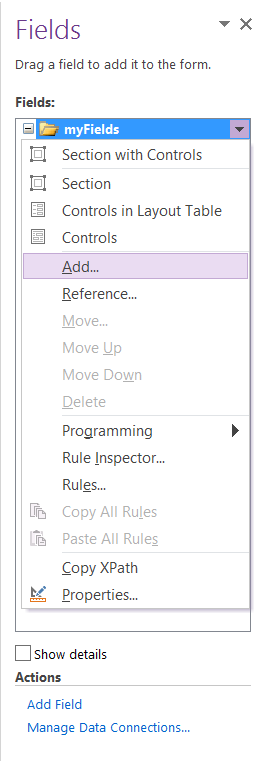
Now in the Fields window on the the right hand, right click on the myFields folder, and click Add.
Now choose Add Field or Group form should show up as below
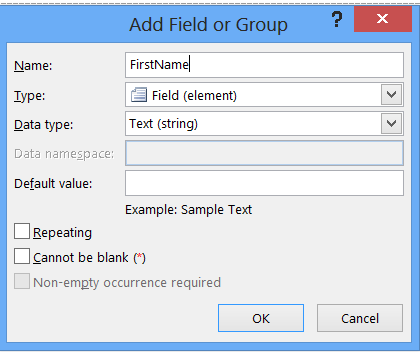
Repeat the steps above to add the remaining fields using the text data type
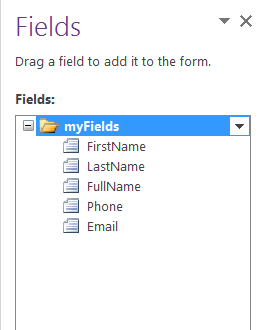
Drag each field and add it to the form on below screen
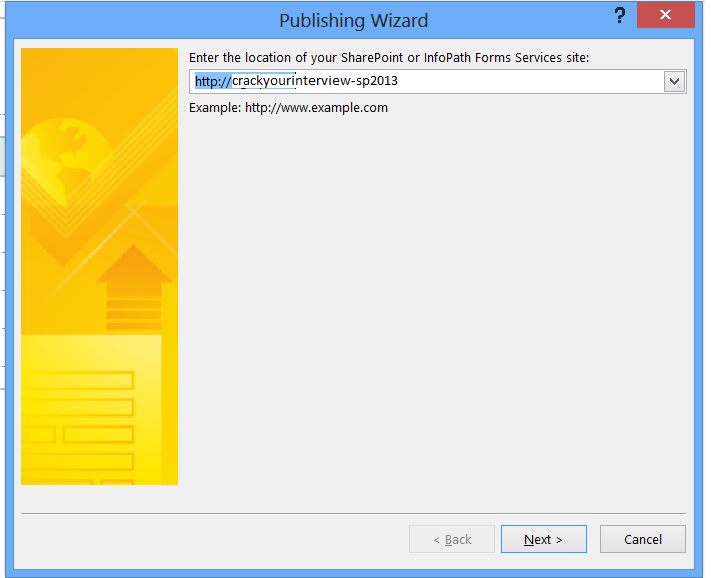
Now to publish infopath to sharepoint 2013 we need to enter the saherpoint URL as given in below screen
Now select below value as given in screen
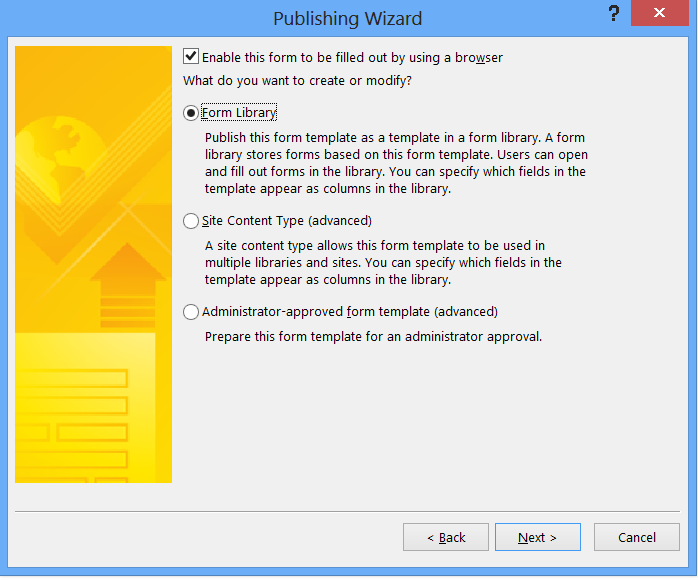
Select the Form Library option if you want publish the new form to a SharePoint Form library only. Click Next to go to the next Publishing Wizard page.
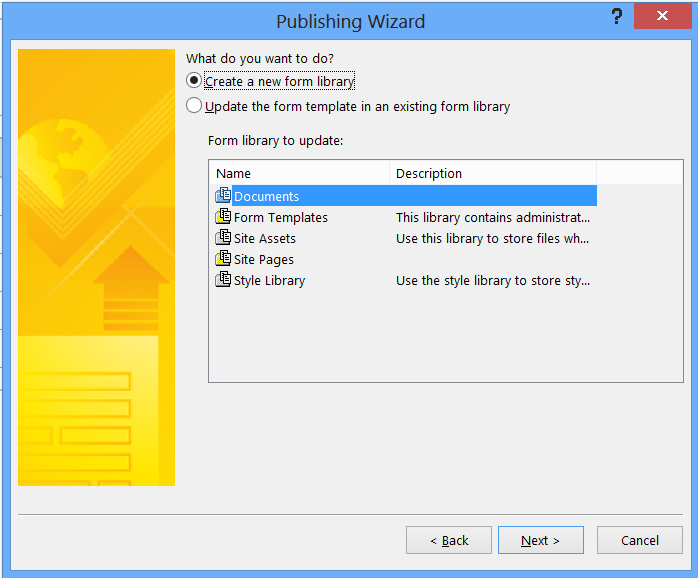
select create a new form library and click Next
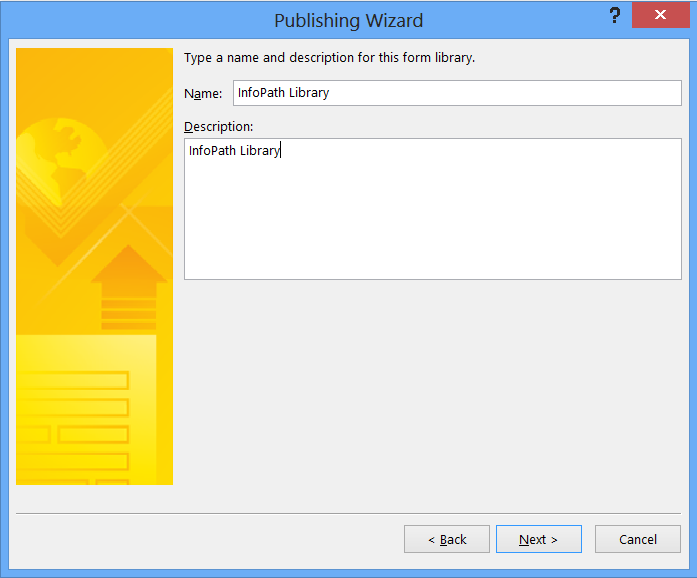
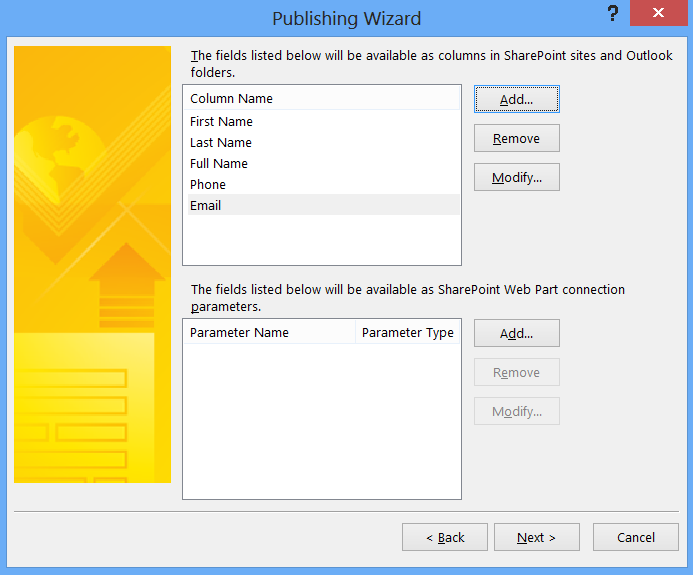
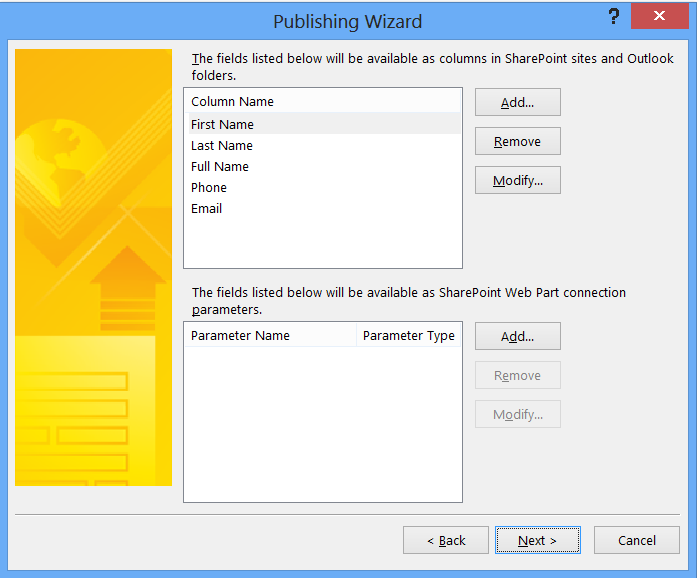
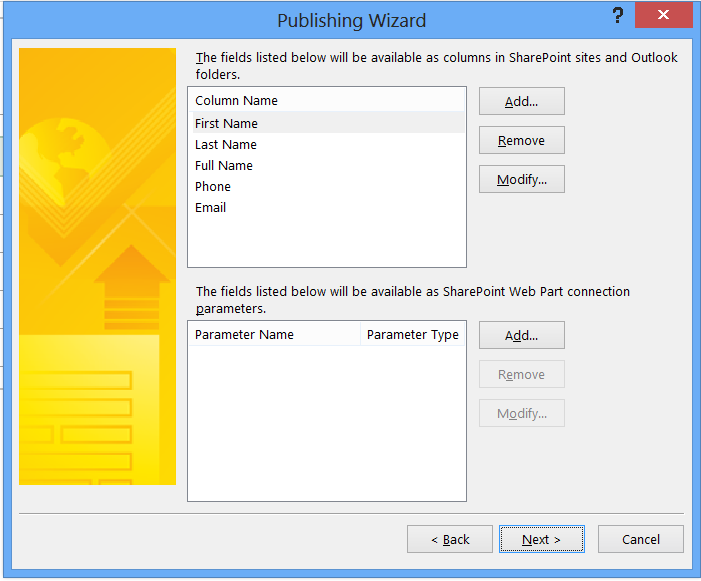
Now Add to add those columns and click Next. These fields will be available as columns in the SharePoint Site
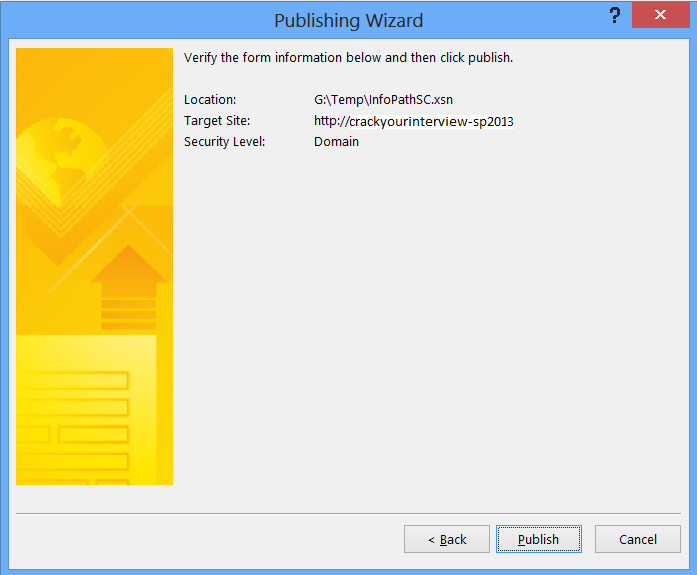
Now Publish to publish the InfoPath Form. Select Open this form library and click Close
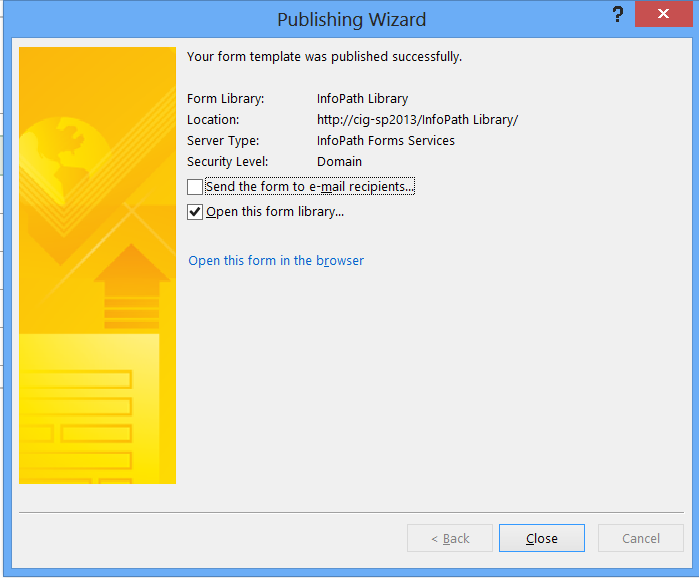
Now InfoPath Library on SharePoint is opened.
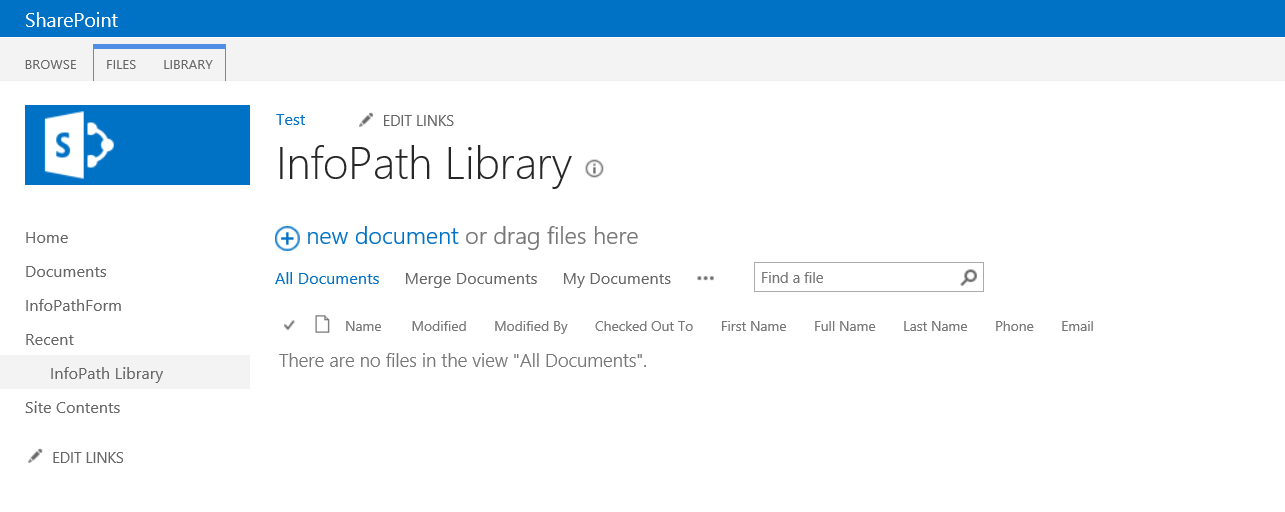
Click New Document and the InfoPath Form will be open in edit mode.
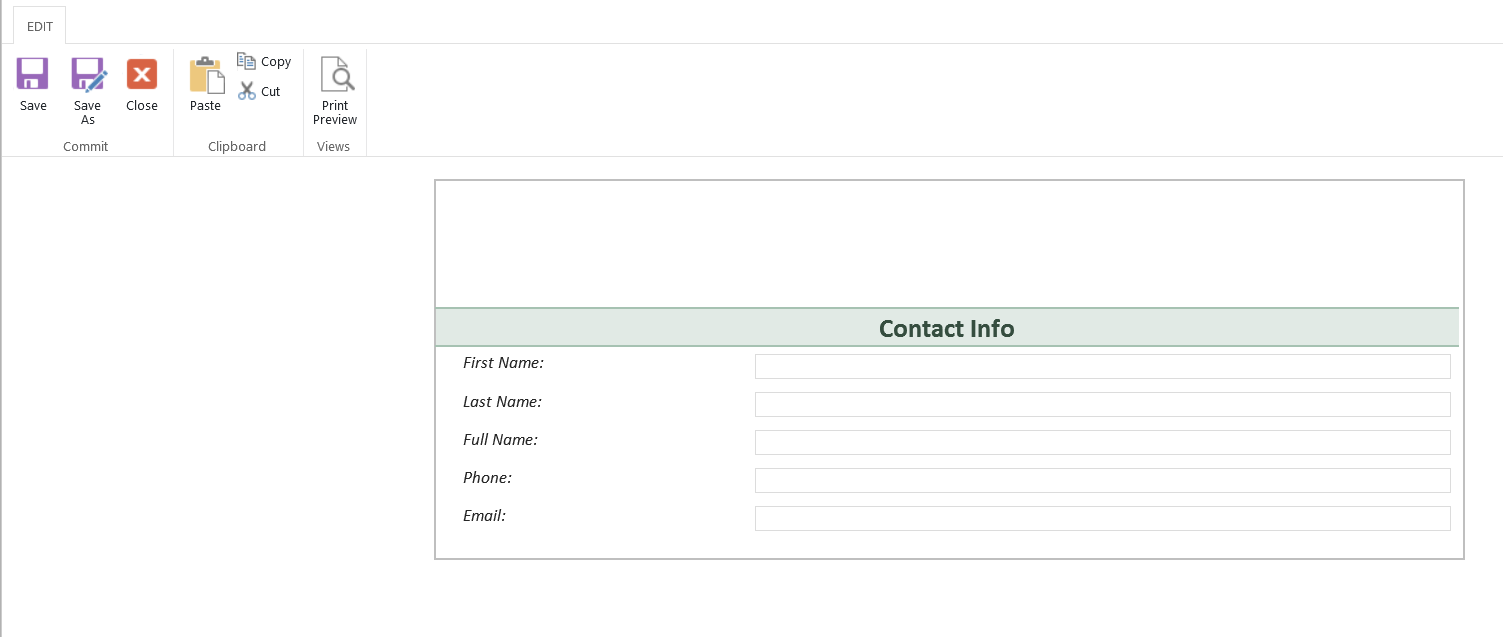
Fill out the form and click Save.
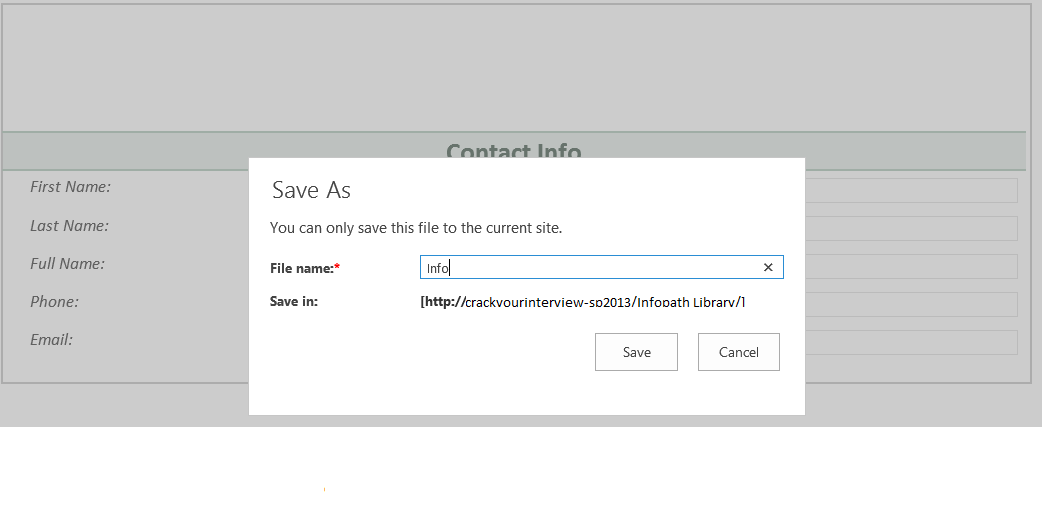
Now InfoPath Form is in the SharePoint site as shown below

Publish InfoPath Form Template to Site Content TypeHow to Configure and Publish InfoPath to SharePoint 2013
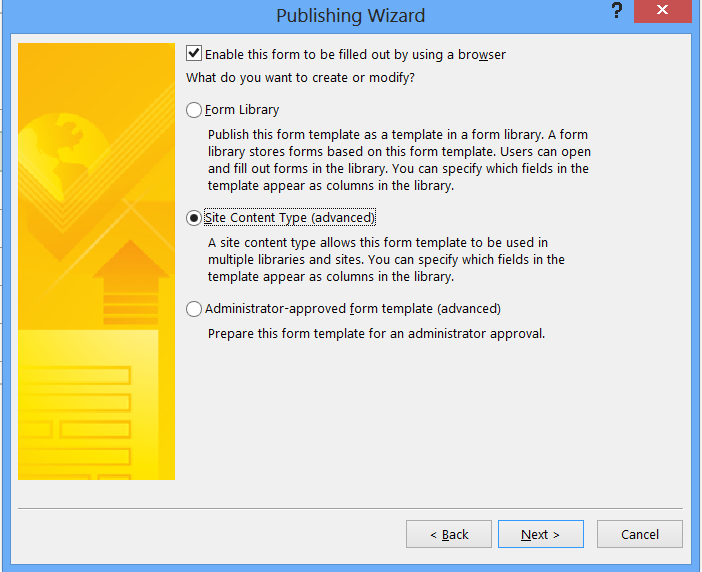
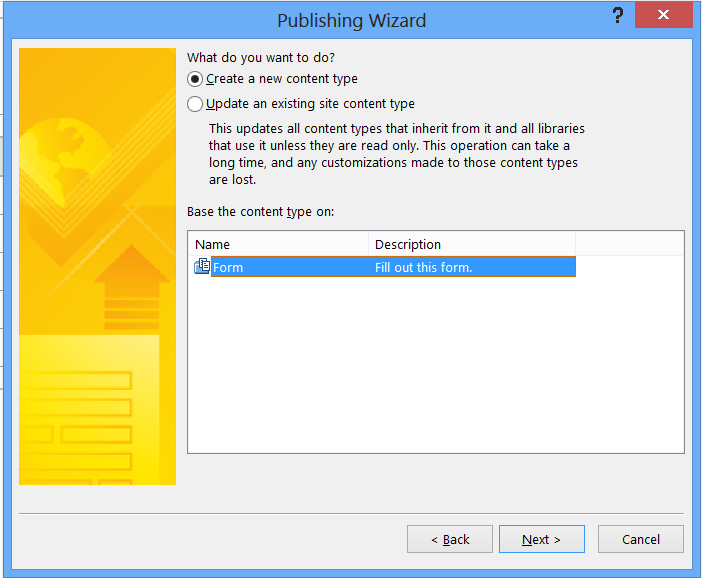
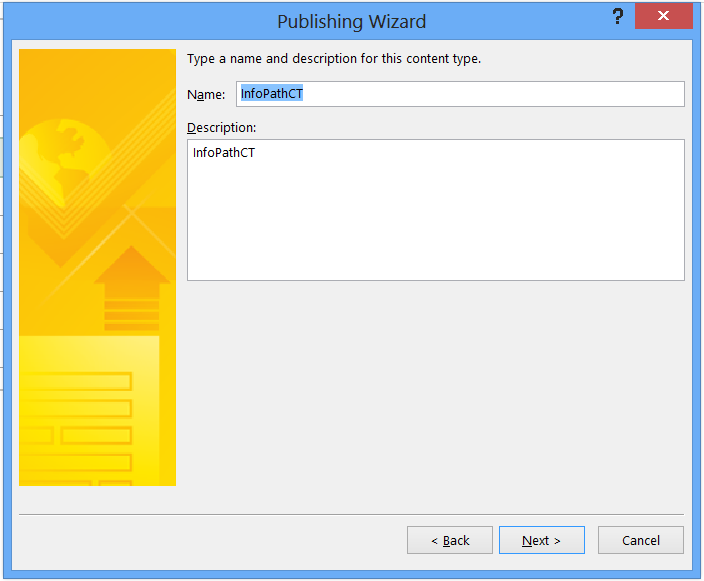
Give a Content Type name and click Next
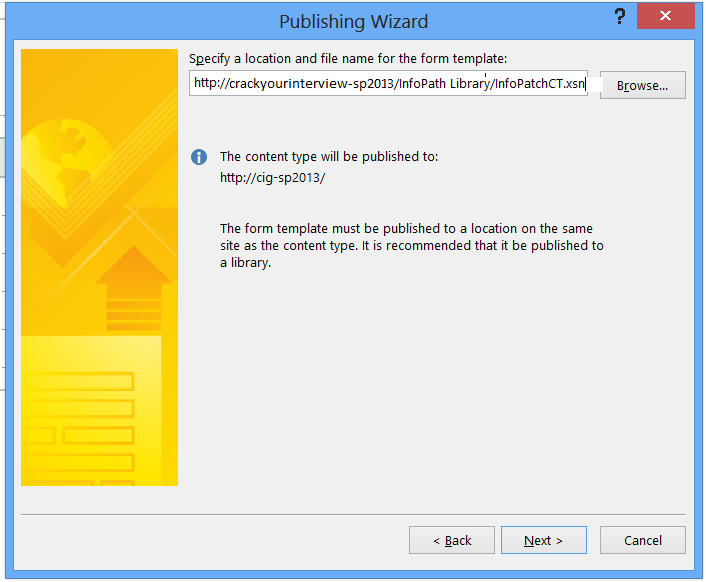
Specify a location and file name for the form template.
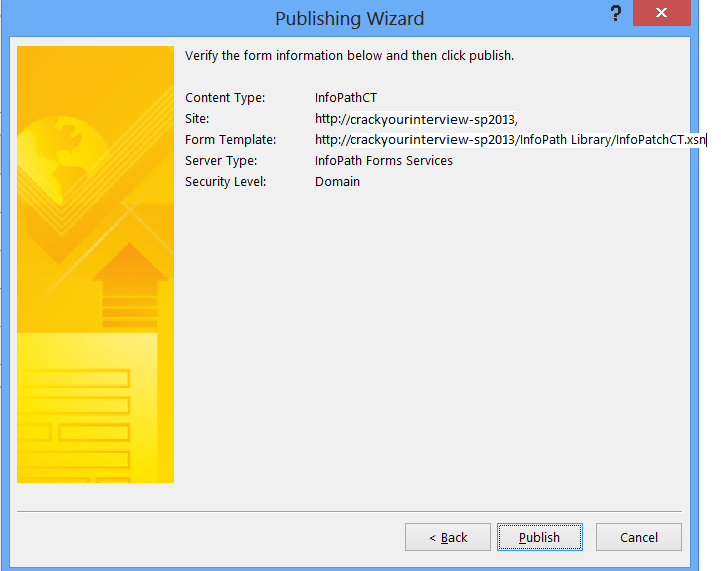
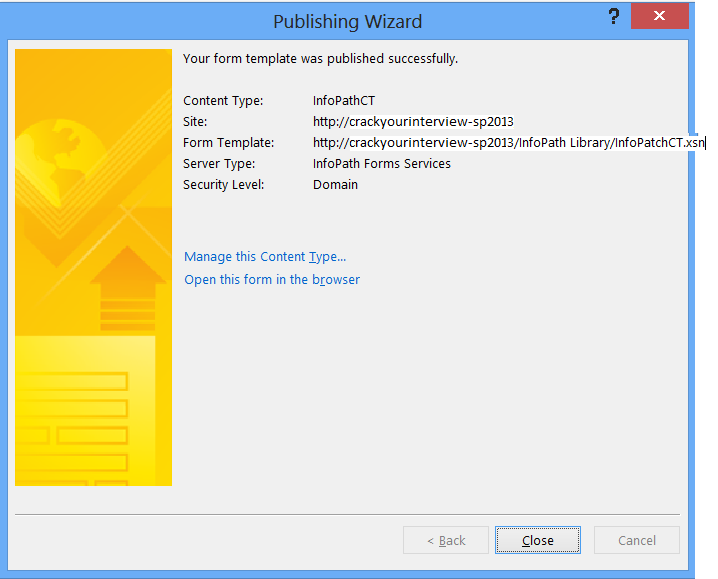
To use InfoPath as a Content Type, go to the Library in which you want to create the form, click the Library tab --> click Library Settings --> click Advance Settings --> under Allow management of content types, select Yes.
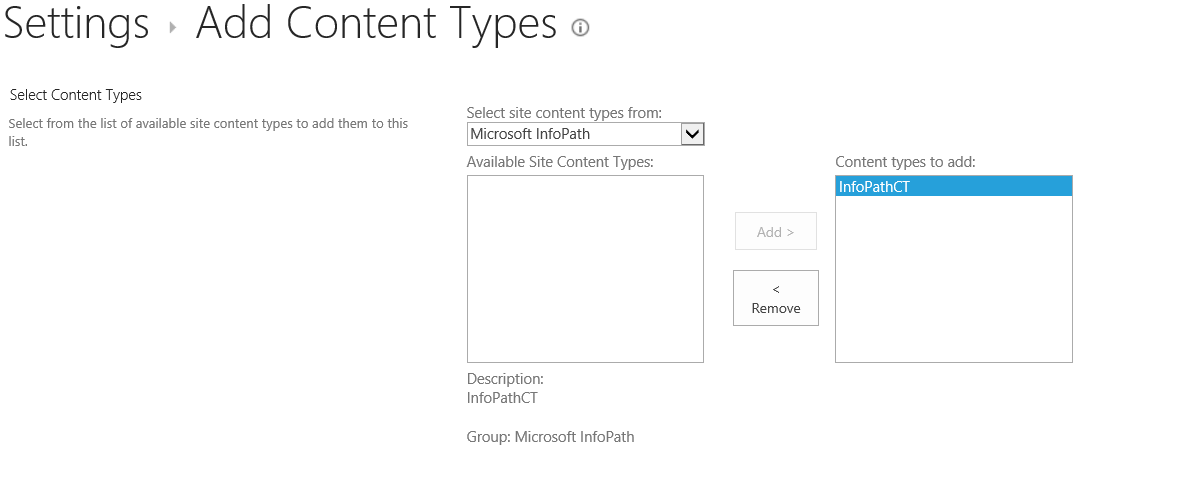
Under the Content Type section, click Add from existing site content types --> Select Microsoft InfoPath from the "Select site content types from" drop down list --> select Info Patch Content Type from Available Site Content Types box --> click Add, and click OK.
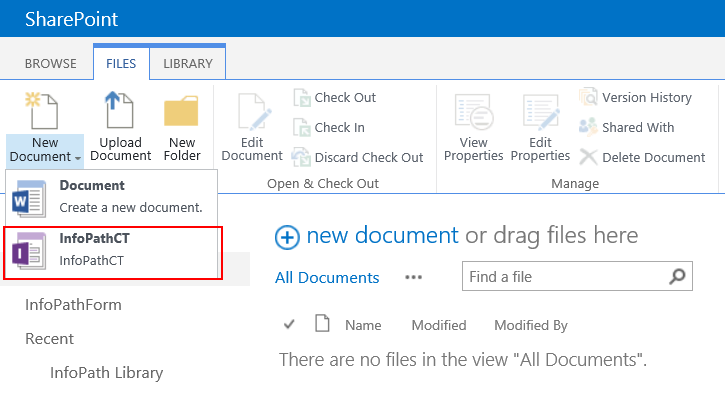
Go back to the Library and click the Files tab, click the down arrow at New Document, and click InfoPathCT.
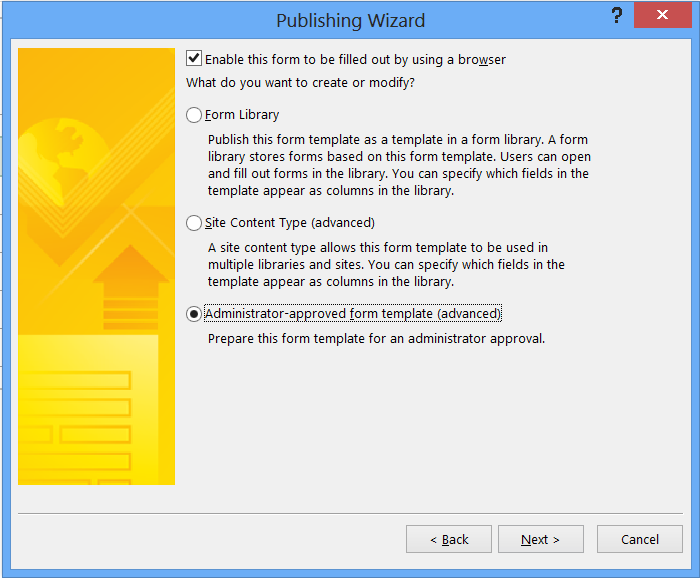
Select the Administrator-approved form template and click Next. This option will make the form template available on all site collections.
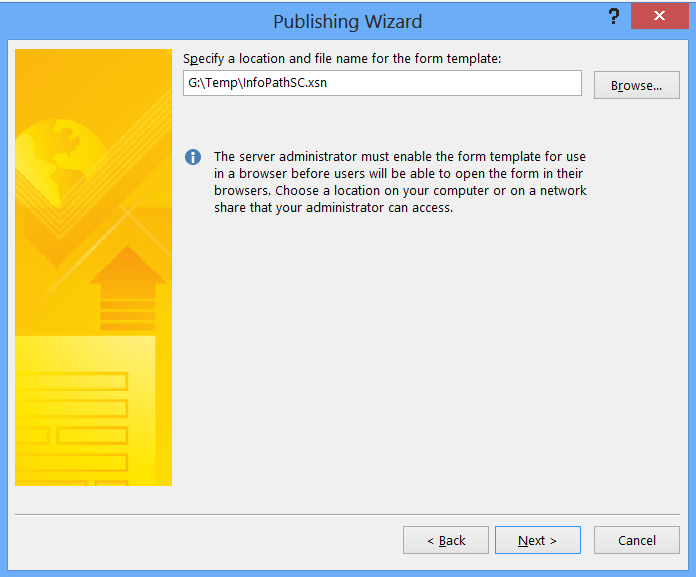
Specify a location and file name for the form template and click Next.
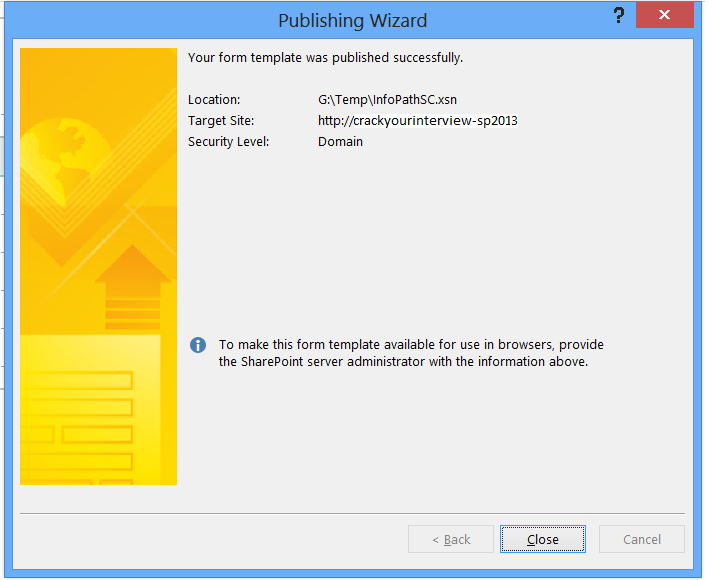
To re-use the InfoPath template on other Site Collections, follow these steps below:
In Central Administration, click General Application Settings --> under InfoPath Forms Services, click Manage form templates.

Click Update form template and select file InfoPathSC which we saved before and click Ok

Make sure the form template is uploaded success and click OK

Now the Form Template is uploaded to the Manage Form Template page.

Click on the down arrow besides the Form template to activate the InfoPath Form Template at the site collection.
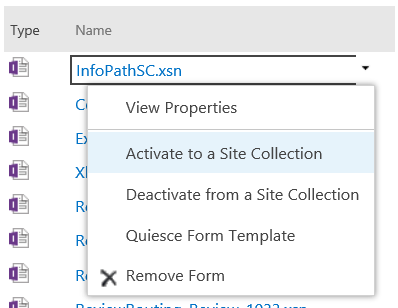
Go to the other site collection to activate the feature (Click Site Settings --> under Site Collection Administrator section, select Site Collection Features --> Activate InfoPathSC).

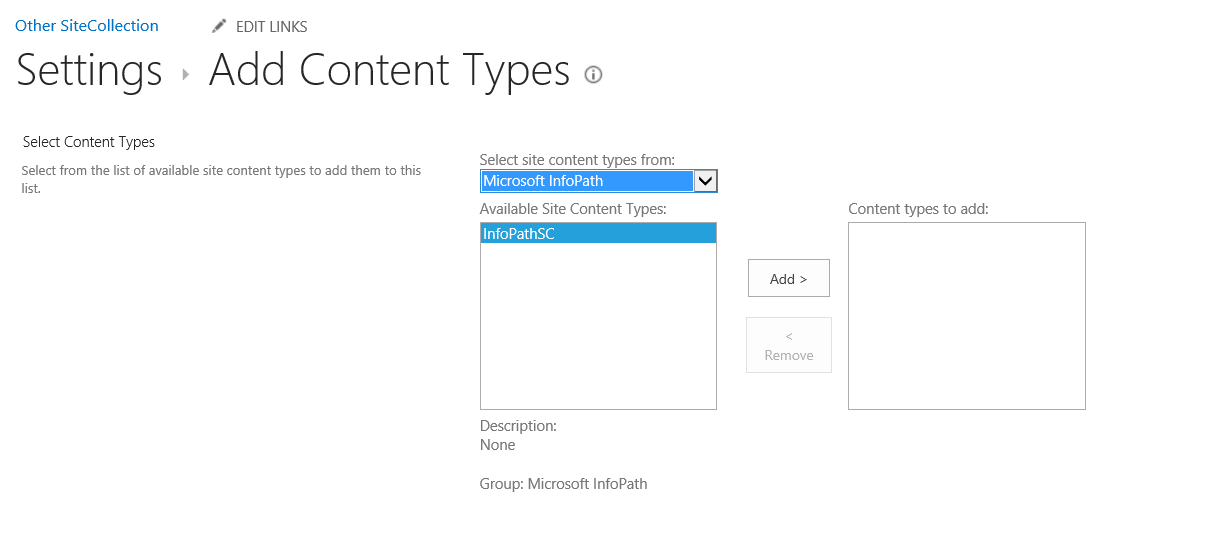
Now we can use the InfoPathSC Form in that site collection. | | |